
Hello everyone! In the last post, we talked about why I decided to set up a Kubernetes cluster at home. Today we’ll go into more detail and look at what hardware I chose and why.
The search for the perfect hardware
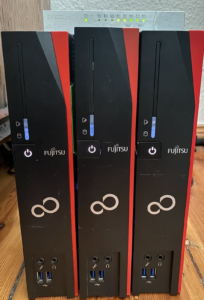
When I started looking around for the right hardware for my cluster, two things were important: the solution had to be fanless and consume little power. Through my research and thanks to inspiration from various sources, I came across thin clients from Fujitsu Siemens. The decision was made in favour of the Futro S920, which came onto the market around 10 years ago and is equipped with a 4-core AMD processor.
Why Futro S920?
These small computers can be equipped with up to 16 GB of RAM, which is more than sufficient for my purposes. A decisive criterion was that the CPUs support AVX, as MongoDB version 5 and higher requires this CPU feature. Some of my planned applications use MongoDB. It is important to emphasise that I do not need a high-performance cluster. For most of the applications I run, the resources of these devices are completely sufficient, especially since the number of users in my home network is manageable.
Upgrade to maximum
I bought three of these S920 thin clients second-hand for 20 euros each. They came with 4 GB RAM and no hard drive. That wasn’t a problem because I was planning to upgrade them. I equipped each device with the maximum RAM of 16 GB. A 256GB mSATA hard drive was installed for the operating system and applications, and I fitted a 1TB SSD for additional storage. While a slot was already available for the mSATA hard drive, I had to tinker a bit for the SSD.
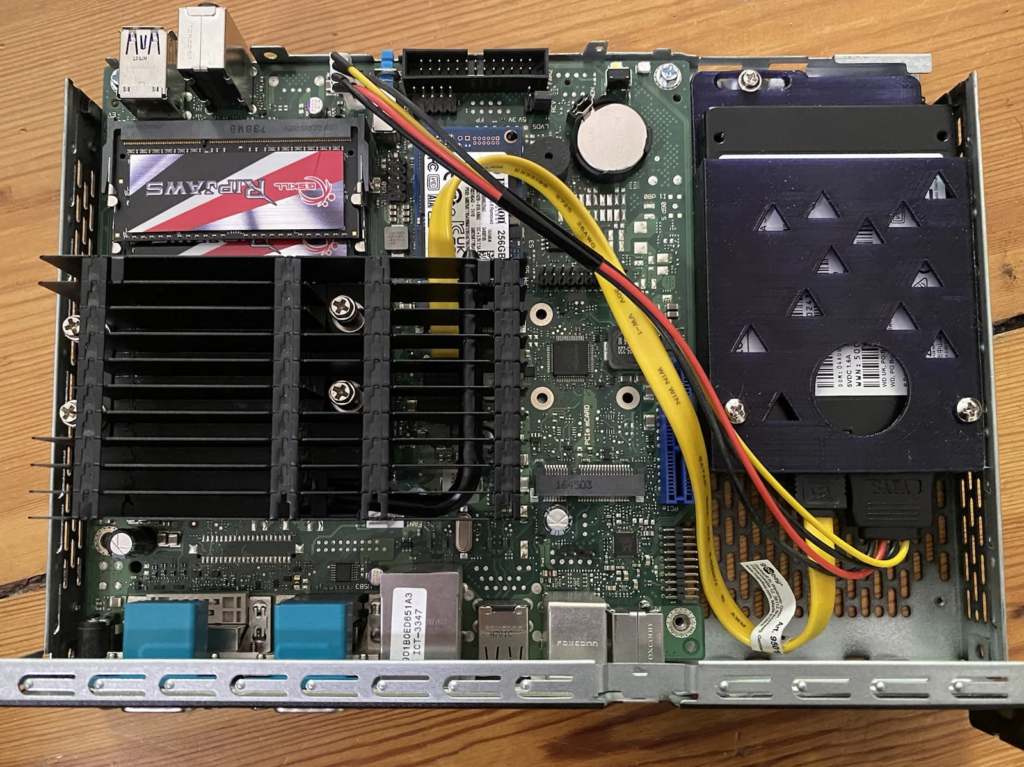
To install the SSDs, you need an angled SATA cable, as the SATA port is located under the CPU cooler. The floppy power connection on the board is ideal for the power supply, so I used an adapter from floppy to SATA. Unfortunately, the housing does not offer the option of attaching a hard drive, so you also need a special adapter, which I made using a 3D printer. This allowed me to physically attach the SSDs to the thin client housing and ensure a stable, reliable connection. This creative approach shows how even unconventional solutions can be realised with a little ingenuity and the right tools.

Software and configuration
The operating system I chose was Ubuntu 22.04 LTS in the minimal version. A reliable and secure operating system is essential for managing the cluster and running my applications. I then used Ansible to add my standard configuration for users, shell (oh-my-zsh), basic monitoring (Icinga) and security. Automation is the key to minimising administration and ensuring consistency across all nodes.
Conclusion
Choosing the right hardware is a critical step in setting up a home cluster. With the Futro S920 thin clients, I have found a powerful, low-power and cost-effective solution that perfectly fits the needs of my home applications. The CPUs’ support for AVX and the ability to upgrade and configure the systems according to my needs make them the ideal choice for my project without wasting resources unnecessarily.
In the next blog post, we’ll look at how I installed and configured k3s to bring my Kubernetes cluster to life. Stay tuned!

2 thoughts on “The structure of my Kubernetes home cluster: the choice of hardware”