
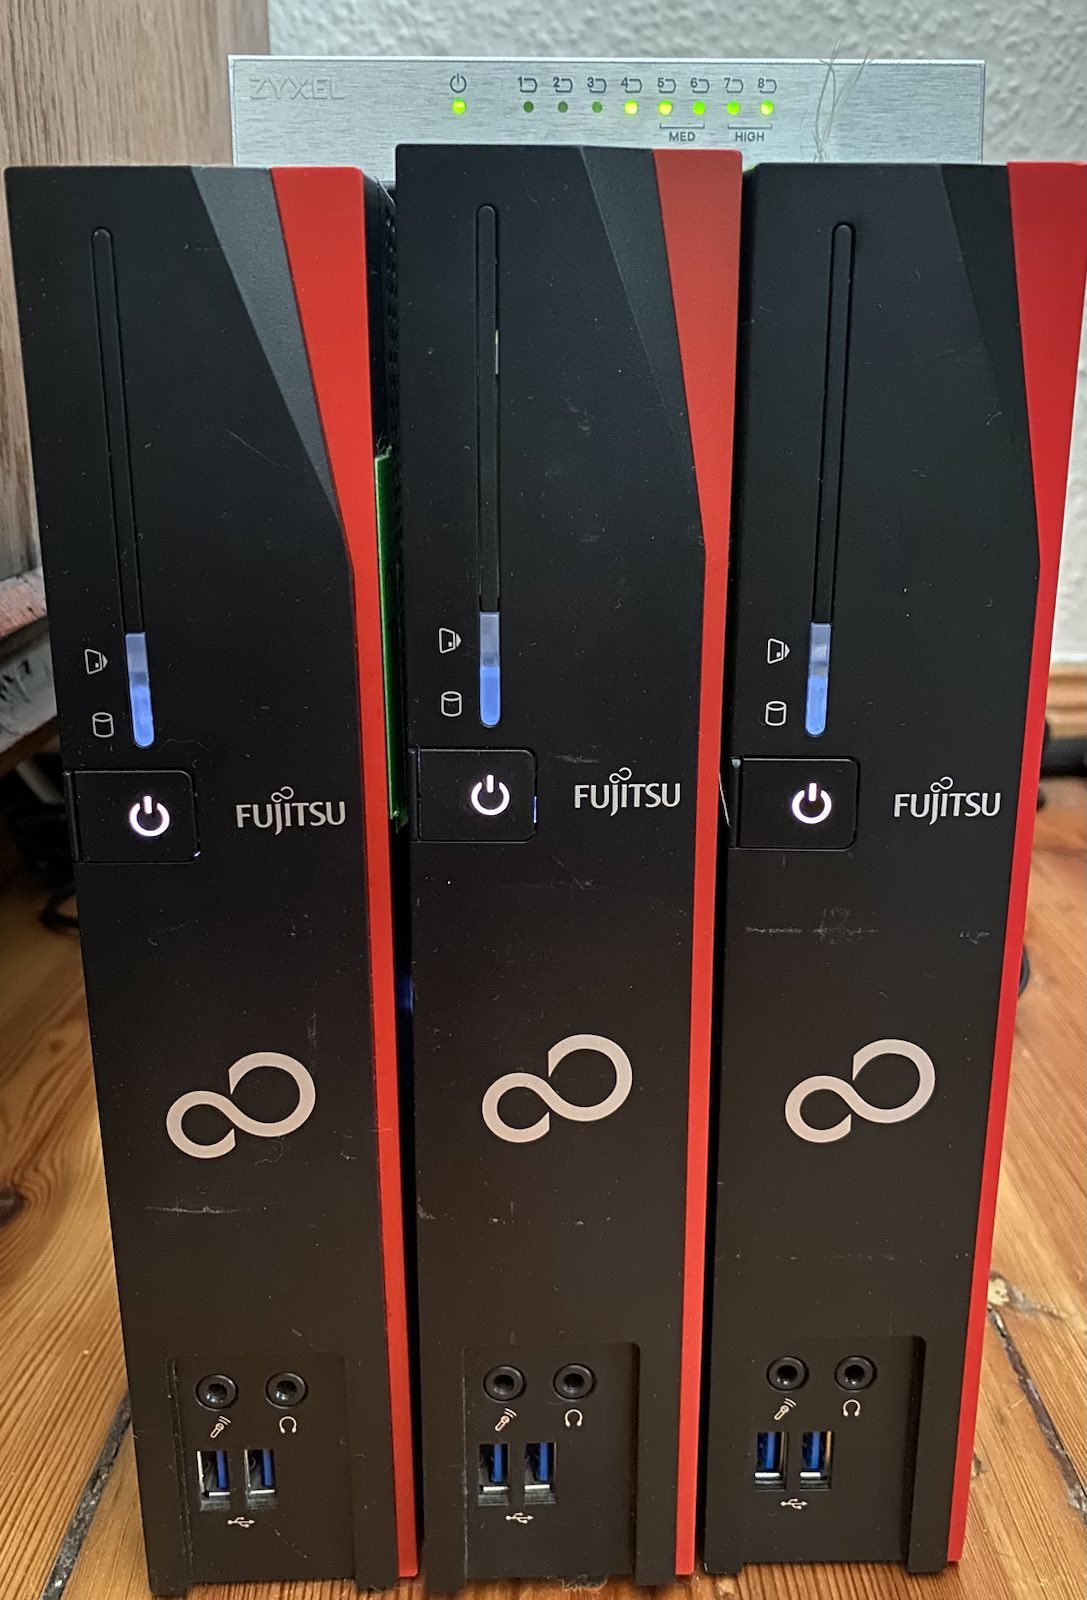
Hello everyone! In our previous posts, we discussed hardware selection and installation of k3s for our home Kubernetes cluster. Today we’ll dive into the world of GitOps and use FluxCD to achieve dynamic, efficient and automated cluster management.
What is GitOps?
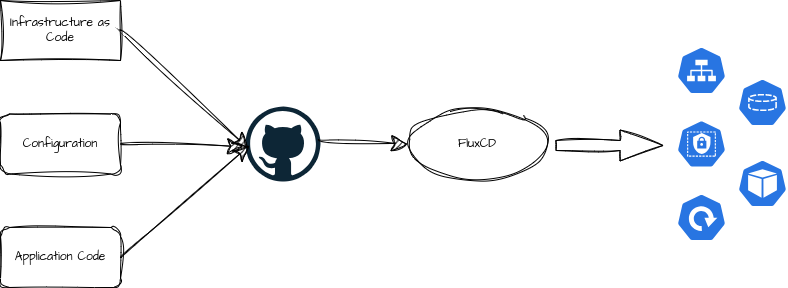
GitOps is a method of infrastructure management that utilises Git as a single source of truth and uses automated processes to ensure that the state of our cluster matches the configuration code stored in our Git repository. This approach brings development practices such as versioning, code review and continuous integration/deployment into the world of infrastructure management.
Why FluxCD?
FluxCD is one of the leading tools that applies GitOps principles to Kubernetes. It monitors Git repositories and ensures that the state in the cluster matches the state defined in the repository. It’s not the only tool of its kind – an alternative is ArgoCD, which offers similar functionality but has some differences in architecture and workflow. I chose FluxCD because it works particularly well with the Kubernetes API and has a strong community and support.
Installation of FluxCD
The installation of FluxCD in our k3s cluster uses a GitHub repository for configuration management. Here are the basic steps:
- Installation of the FluxCD CLI tool:
curl -s https://fluxcd.io/install.sh | sudo bash(other installation options can be found in the documentation) - Check prerequisites:
flux check --preshows whether all prerequisites are fulfilled - Initialisation of FluxCD in the cluster:
flux bootstrap github --owner=<github-user> --repository=<repo-name> --branch=main --path=./clusters/my-cluster --personal
This command sets up FluxCD to monitor changes in a specific path of my GitHub repository and apply them to the cluster.
Explanation of the flux bootstrap command
The flux bootstrap command is a central part of the FluxCD setup and is used to automatically install FluxCD in a Kubernetes cluster and connect it to a Git repository. This command prepares everything needed for GitOps to manage the cluster. The most important options are explained here:
--owner=<github-user>:The username or organisation in GitHub that owns the repository. This is necessary so that FluxCD has the authorisation to push changes and create PRs.--repository=<repo-name>:The name of the GitHub repository used to store the Kubernetes configurations.--branch=main: The branch in the repository that FluxCD will use for the configuration files. This is oftenmainby default.--path=./clusters/my-cluster: The path in the repository where FluxCD will store and manage the configuration files. This allows you to organise multiple cluster configurations in a single repository.--personal: An option that specifies that the GitHub repository used is a personal repository and not an organisational repository.
These options provide a flexible and secure way to integrate FluxCD into your cluster and source control system, effectively implementing the principles of GitOps.
Key concepts of FluxCD
When working with FluxCD, there are some important “vocabulary” or concepts that you should understand:
- Helm Charts: Templates that describe how an application or service is deployed in Kubernetes.
- Helm Releases: Instances of Helm Charts that are provided in the cluster.
- Kustomisations: Adaptations of Kubernetes resources that go beyond the basic configurations.
- Repositories: Places where our configuration files and scripts are stored.
Folder structure for FluxCD
A well-organised folder structure is crucial for managing FluxCD configurations:
/clustername/
  /apps/
    /<appname>/
      - helmrelease.yaml
      - sealed-secret.yaml
  /bootstrap/
    /namespace/
    /helmcharts/
    /kustomizations/Code language: JavaScript (javascript)
Explanation of the structure:
/apps/: This folder contains subfolders for each application(<appname>) running in the cluster. Each application folder would then contain theHelmReleaseconfiguration files that are specific to that application. Additional configurations or secrets can also be provided here./bootstrap/: This folder contains important resources required to initialise the cluster/namespace/: Files here define kubernetes namespaces./helmcharts/: The Helm charts that are used in the cluster are saved in this folder./kustomizations/: This folder contains kustomizations that are used to customize the Kubernetes resources before they are used in the cluster.
This structure helps to keep your cluster configurations organised and easily accessible, and supports the clean separation of infrastructure setup and application deployment.
Example: Deployment of Podinfo
Let’s now take a look at how the “Podinfo” application can be deployed. To do this, we need a namespace, have to configure a Helm repository and create customisation and the app configuration itself in the /apps/podinfo/ folder:
Namespace
apiVersion: v1
kind: Namespace
metadata:
  name: podinfo
Code language: YAML (yaml)
Helm repository
apiVersion: source.toolkit.fluxcd.io/v1beta2
kind: HelmRepository
metadata:
  name: podinfo
  namespace: default
spec:
  interval: 15m
  url: https://stefanprodan.github.io/podinfo
Code language: YAML (yaml)
Kustomisation
apiVersion: source.toolkit.fluxcd.io/v1beta2
kind: HelmRepository
metadata:
  name: podinfo
  namespace: default
spec:
  interval: 15m
  url: https://stefanprodan.github.io/podinfo
Code language: YAML (yaml)
HelmRelease
apiVersion: helm.toolkit.fluxcd.io/v2beta1
kind: HelmRelease
metadata:
  name: podinfo
  namespace: podinfo
spec:
  chart:
    spec:
      chart: podinfo
      version: 6.x
      sourceRef:
        kind: HelmRepository
        name: podinfo
        namespace: default
  interval: 15m
  timeout: 5m
  releaseName: podinfo
  valuesFrom:
  - kind: ConfigMap
    name: podinfo-helm-chart-value-overrides
    valuesKey: values.yaml # This is the default, but best to be explicit for clarity
Code language: YAML (yaml)
ConfigMap for values.yaml
The configuration values for the respective application are usually also specified in the HelmRelease. Possible values are derived from the values.yaml file, which contains the default values in a Helm chart. The values are either written directly in the HelmRelease or reference is made to a configmap that contains the values.yaml file:
apiVersion: v1
kind: ConfigMap
metadata:
  creationTimestamp: null
  name: podinfo-helm-chart-value-overrides
  namespace: podinfo
data:
  values.yaml: |-
    # Default values for podinfo.

    replicaCount: 1
    logLevel: info
    host: #0.0.0.0
    backend: #http://backend-podinfo:9898/echo
    backends: []

    image:
      repository: ghcr.io/stefanprodan/podinfo
      tag: 6.0.3
      pullPolicy: IfNotPresent

    ui:
      color: "#34577c"
Code language: YAML (yaml)
Personally, I prefer to write the values directly to the HelmRelease file so that FluxCD can deploy the changes to the values more quickly after a commit. Otherwise FluxCD waits up to an hour to update other files of a deployment.
I have found it useful to use all the default values of a helm chart. This prevents changes to the Helmchart from going unnoticed or important default settings from changing. Exceptions to this are versions or tags of the Docker images. This would counteract the use of Renovate.
Automated update of HelmCharts with Renovate
To ensure that the Helmcharts I use and their dependencies are always up to date, I rely on Renovate, an automated update service that I have integrated into my GitHub repository. Renovate regularly checks if new versions of the Helmcharts or other dependencies are available and automatically creates pull requests to integrate these updates into my repository. This helps to ensure that my cluster is running with up-to-date and secure software versions and reduces the risk of security vulnerabilities that could arise from outdated components.
Conclusion and outlook
With the successful setup of FluxCD on our Kubernetes cluster, we have laid a solid foundation for reliable and automated cluster management. This setup allows us to control changes precisely and efficiently while utilising the best practices of GitOps.
What can you expect in the upcoming posts?
Building a robust and secure Kubernetes cluster does not end with the installation of FluxCD. In the next blog posts, we will look at a number of advanced topics that are essential to get the cluster ready for production:
- Sealed Secrets: For the secure handling of secret data in the cluster.
- DNS and certificates: For the reliable and secure accessibility of our services.
- Ingress and load balancers: For controlling incoming network traffic and optimising load distribution.
- Authentication: To make access to our services secure and controlled.
- Storage solutions: For the persistent storage of our data.
- Backup & restore: To ensure high data availability and recoverability in an emergency.
- Installing additional applications: Applications that can only be installed with a few tricks.
Each of these aspects is critical to maintaining an efficient, secure, and scalable Kubernetes cluster. I look forward to covering these topics in detail and providing practical tips and guidance to help you optimise your own Kubernetes deployments.
Stay tuned to learn more about the exciting world of Kubernetes and its advanced use!

One thought on “GitOps with FluxCD for my home Kubernetes cluster”